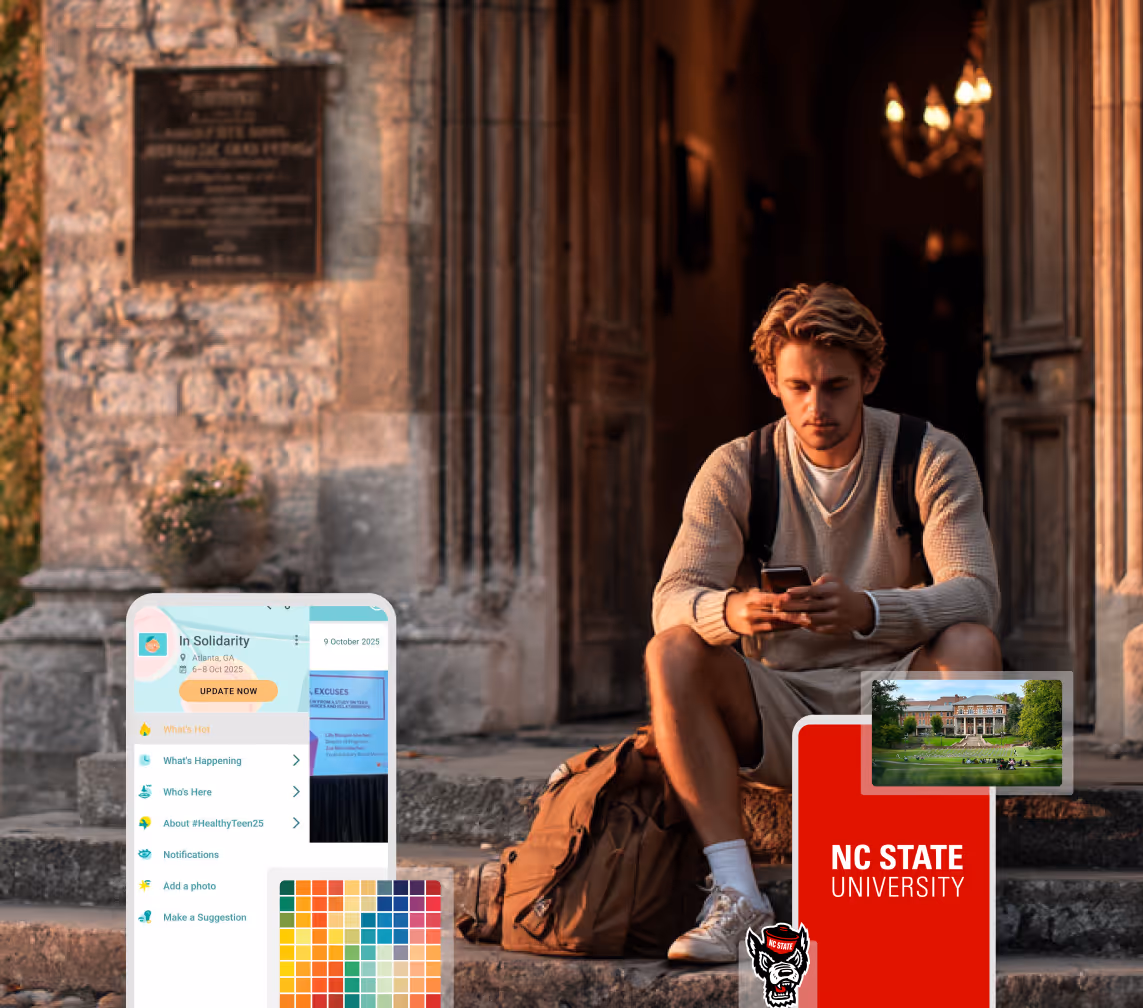
A Smaller School?
Deliver a polished, branded event experience without a large team or a big budget.
A Smaller School?
Deliver a polished, branded event experience without a large team or a big budget.
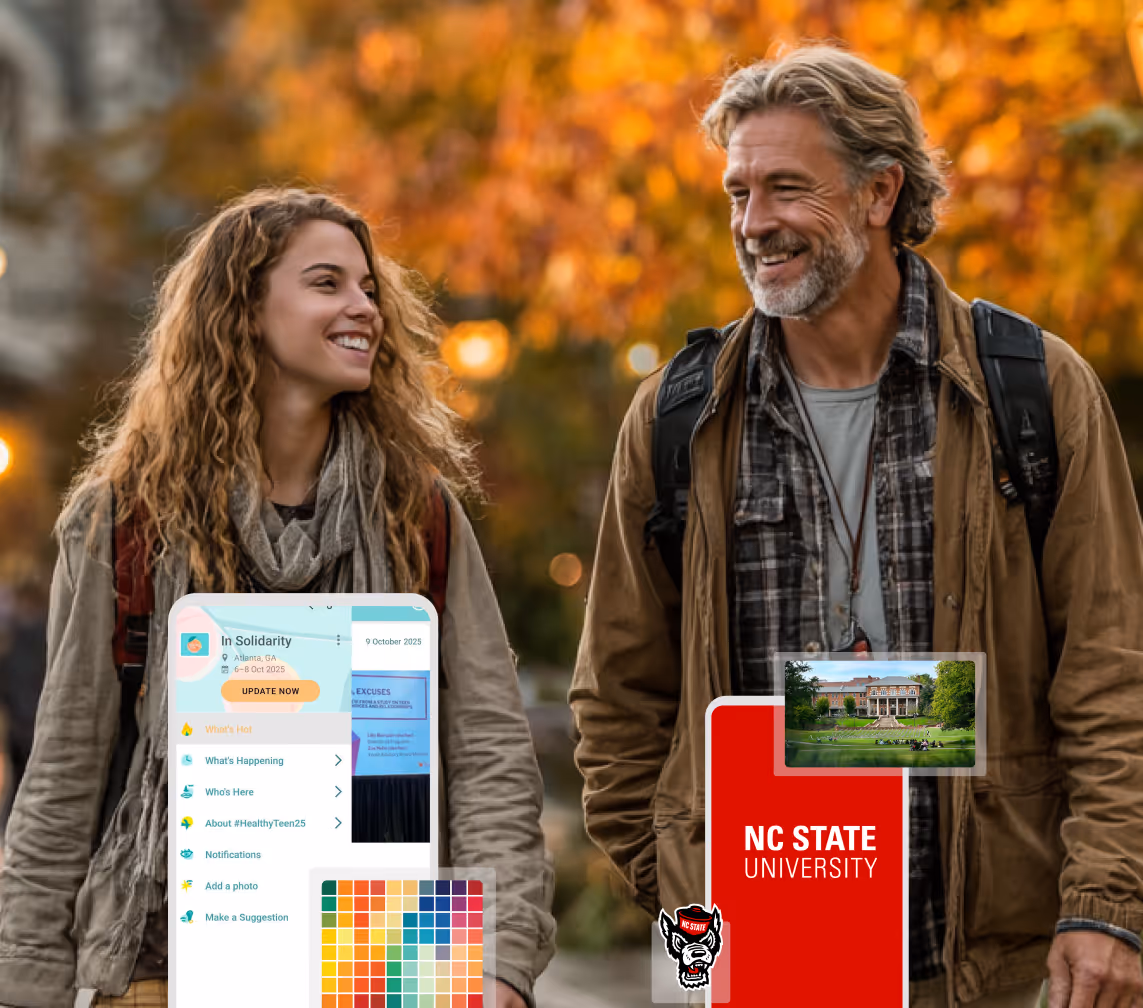
Running Family Programs?
Give families everything they need, from schedules and maps to real-time updates, all in one place.
Running Family Programs?
Give families everything they need, from schedules and maps to real-time updates, all in one place.
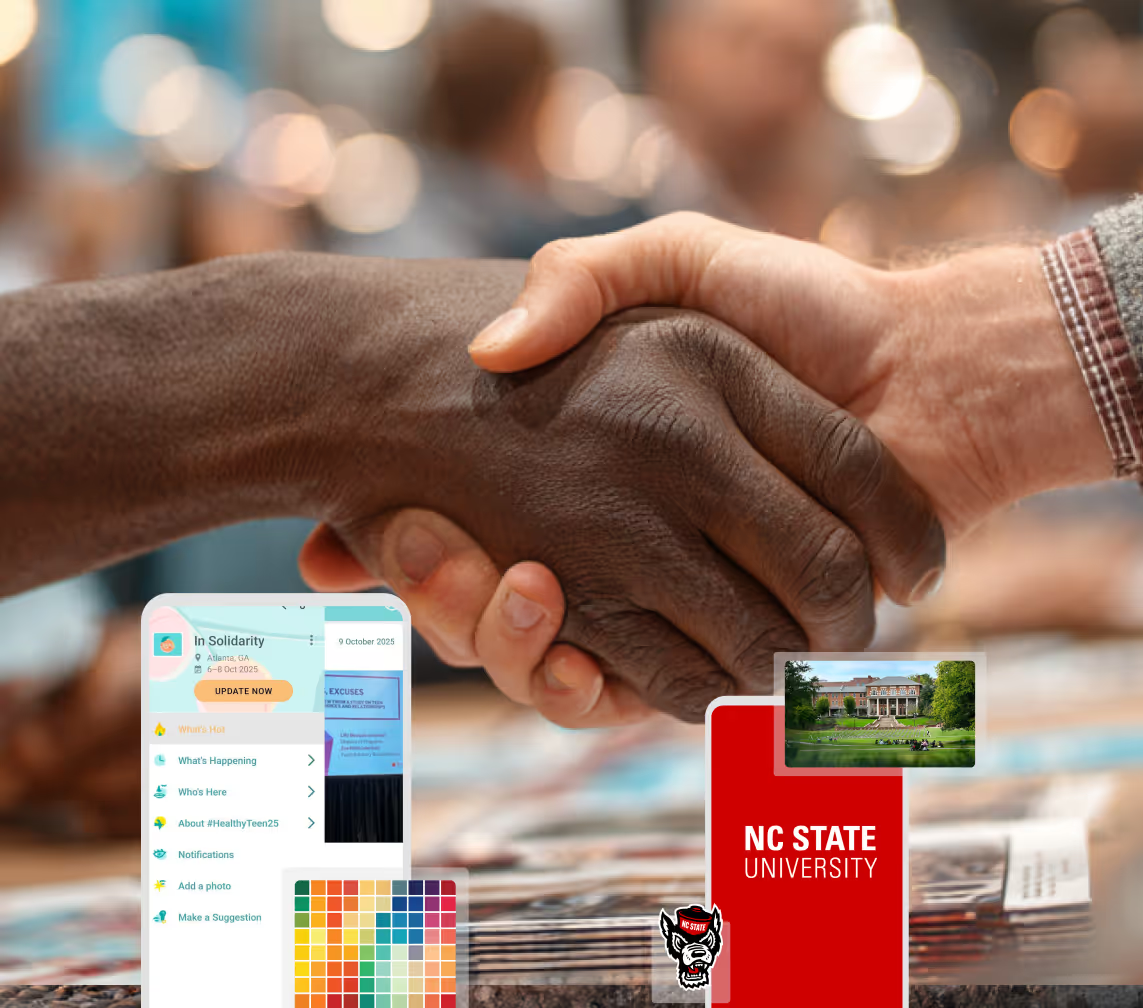
Coordinating Move-In Day?
Share updates, manage events, and keep students informed from move-in through the academic year.

Coordinating Move-In Day?
Share updates, manage events, and keep students informed from move-in through the academic year.
Offering Campus Tours?
Deliver branded, self-guided tour experiences with interactive maps and rich media, available 24/7.

Offering Campus Tours?
Deliver branded, self-guided tour experiences with interactive maps and rich media, available 24/7.
Organising a Career Fair?
Simplify logistics for students, employers, and Career Services staff with one easy-to-use app.
Organising a Career Fair?
Simplify logistics for students, employers, and Career Services staff with one easy-to-use app.
Managing Alumni Events?
Plan reunions, regional events, and fundraising campaigns with an app built for alumni engagement.
Managing Alumni Events?
Plan reunions, regional events, and fundraising campaigns with an app built for alumni engagement.
Boost Student Engagement
One hub for schedules, resources, and events that keeps students connected throughout the academic year.
Boost Student Engagement
One hub for schedules, resources, and events that keeps students connected throughout the academic year.
Planning Orientation?
Help new students feel prepared from day one with schedules, campus resources, and real-time updates in one app.
Planning Orientation?
Help new students feel prepared from day one with schedules, campus resources, and real-time updates in one app.
Running Admissions Events?
Manage open houses, tours, and yield events with a branded app that saves time and engages prospective students.

Running Admissions Events?
Manage open houses, tours, and yield events with a branded app that saves time and engages prospective students.
Get a custom Sponsorship Package Template
Stop starting from scratch. Grab free templates that helWe'll build a tailored sponsorship package with suggested pricing, tiers, and benefits..for your specific event.p you build professional sponsorship packages and close deals faster.
Get a custom Sponsorship Package Template
Stop starting from scratch. Grab free templates that helWe'll build a tailored sponsorship package with suggested pricing, tiers, and benefits..for your specific event.p you build professional sponsorship packages and close deals faster.
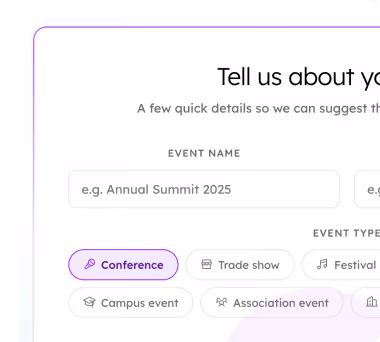
Plan Your Next Event Without Missing a Beat.
From venue selection to post-event wrap-up, this free checklist walks you through every step (so nothing falls through the cracks).
.avif)
Plan Your Next Event Without Missing a Beat.
From venue selection to post-event wrap-up, this free checklist walks you through every step (so nothing falls through the cracks).
Real Results From Real Events
100,000+ organizations trust Guidebook. See exactly how universities, associations, enterprises, and more put it to work.

Real Results From Real Events
100,000+ organizations trust Guidebook. See exactly how universities, associations, enterprises, and more put it to work.
Flexible pricing for every event size
Find the perfect plan for your needs, from intimate gatherings to large-scale conferences.

Flexible pricing for every event size
Find the perfect plan for your needs, from intimate gatherings to large-scale conferences.
Join our event experts
Watch on-demand webinars and join live sessions with industry leaders sharing best practices for event success.
.avif)
Join our event experts
Watch on-demand webinars and join live sessions with industry leaders sharing best practices for event success.
Guidebook in Action
Book a personalized walkthrough and discover how we help event teams create better attendee experiences.
Guidebook in Action
Book a personalized walkthrough and discover how we help event teams create better attendee experiences.
Avoid the Bottleneck: Smart Check-In Setups for Events of Any Size
.avif)


Avoid the Bottleneck: Smart Check-In Setups for Events of Any Size
Most registration setups don’t look chaotic…until they are.
The crowd builds faster than expected.
Someone’s name is missing.
A speaker shows up five minutes before go-time.
And just like that, what feels simple on paper becomes a bottleneck on event day.
What’s interesting is that check-in issues aren’t always the result of bad tech or lack of staff. They’re often the result of small event registration setup decisions that don't match how people move or seek help in real life.
This guide takes a practical look at how to design event check-in setups that keep things moving, no matter what real-world curveballs show up on event day.
How Event Check-In Layouts Change as Your Event Grows
There’s no one perfect registration setup.
What works beautifully at a 100-person workshop can create a traffic jam at a 1,000-person conference.
The key is to match your layout to how people will actually arrive, and how many of them will be doing so at the same time.
Let’s break it down.
Small Events (Under 200 attendees)
At this size, keep it simple. You can often get away with a single check-in table and a couple of friendly humans behind it.
But that doesn’t mean you’re immune to chaos.
Where things tend to go sideways at small events
- No clear line, or too much crowding at the table
When there’s no obvious “start here” spot, attendees will do what humans do: gather around. Before you know it, your single table turns into a half-circle of people leaning in, unsure where to stand and unintentionally blocking each other. - Someone shows up early and wants to chat
They’re excited (which is great!), but you’re still setting up. That early attendee who wants to ask questions or grab their badge while you’re unboxing lanyards can throw off your rhythm before things get going. - Badge bins are alphabetized but hidden under laptops, jackets, or coffee cups
We’ve seen it more than once: the bins were ready, but then got buried by setup chaos. When badges aren’t instantly accessible, it slows everything and makes staff look flustered even if they’re not.
How to keep registration flowing at small events
- Mark the start of the line
A little tape on the floor or a “start here” sign taped to the wall is enough. It doesn’t have to be fancy; it just needs to remove the confusion of “where do I go?” moments for attendees. - Have one person in charge of directing traffic, not just checking people in
Don’t rely on attendees to self-sort. Assign a staffer (or volunteer) to greet arrivals, gently redirect early birds, and keep the flow moving so your check-in staff can focus on actually checking people in. - Keep badges and lanyards tidy, visible, and easy to reach
Instead of piling them in bins behind a laptop, try standing the badges up in clearly labeled containers, and pre-looping lanyards ahead of time. The less digging your staff has to do, the smoother it all feels.
With a little structure and someone watching out for early curveballs, check-in at your small event can feel smooth and welcoming.
Medium-Sized Events (200–1,000 Attendees)
Medium-sized events are tricky because they live in the grey area: too big for you to just “wing it,” and too small for larger scale infrastructure. At this size, it’s tempting to assume that a simple layout will be “good enough” — until a few small delays turn into a long, sluggish line.
While the overall volume of people isn’t overwhelming, the margin for error shrinks.
Where things tend to go sideways at mid-size events
- Everyone funnels through the same table
One person’s just picking up a badge, while another needs to register or has a last-minute question. When all of that hits the same station, your line becomes a bottleneck. - People don’t know which station is theirs
Whether you’ve split by last name or attendee type, the signs need to be visible before someone joins a line. If not, they end up in the wrong place and have to shuffle into a new line mid-flow. - Support issues get handled mid-line
Whether it’s a missing badge, misspelled name or a speaker who’s not in the system, hiccups will occur. But they shouldn’t happen in the main check-in line. Taking time to fix that one hiccup can hold up the line several minutes.
How to keep registration flowing at medium-sized events
- Split stations by complexity, not just alphabet
Consider grouping registration by attendee type: general vs. speaker vs. on-site, etc.. The more self-sufficient attendees you can route through the fast lane, the better. - Make signage big, visible, and obvious
Your signs should be large, simple, and visible before someone stops moving. Think foam boards on easels and suspended signage (not paper taped to the table). Bonus points for color-coding roles or lines. - Give support its own dedicated space
Set up a small “Need help?” station just off to the side. It keeps small problems from becoming major slow downs, and gives both attendees and staff a calm space to sort things out. As one registration tech lead puts it in this Reddit thread:
“Any issue that can't be fixed quickly should be directed to the help desk where you have knowledgeable staff that can deal with edge cases…It's important to have a decision maker on this desk…This keeps all the problems in one place with the people that can actually fix things.”
Medium events can feel deceptively simple. But the difference between “smooth check-in” and “why is this line moving so slowly?” usually comes down to layout.
Large Events (1,000+ Attendees)
At this size, you’re not managing a desk; you’re managing movement, flow.
You’ll notice some overlap between this and the medium event section — and that’s not a mistake. The core issues are often the same: unclear flow, crowding, slowdowns.
But at this scale, everything becomes amplified. A five-second hesitation at the wrong point can ripple out into a full-on bottleneck and quickly turn into visible frustration from attendees.
And that frustration isn’t accidental. As far back as 1985, Harvard Business School professor David Maister explored how people experience waiting in his research on the psychology of waiting lines or queues.
His work showed that uncertainty, unclear progress, and visible slowdowns dramatically increase perceived dissatisfaction, even when the actual wait time isn’t especially long. In other words, it’s not just about how long people wait at large events — it’s how the waiting feels.
Where things tend to go sideways at large events
- One small hesitation stalls dozens of people
When someone pauses to ask a question or scan the room, they slow down everyone behind them. Multiply that by hundreds of arrivals, and you’ve got a visible pileup. - Attendees don’t realize which line is theirs until it’s too late
Even if you’ve split by role, last name, or ticket type, the signage needs to be visible from across the venue, not just when someone’s 10 feet away. If people guess wrong, they’ll need to reshuffle mid-line. - Support hijacks the main check-in flow
Many support issues are solvable, but they don’t need to be addressed in the main check-in line. Doing so stalls check-in, leaving a bad taste in attendees’ mouths.
How to keep registration flowing at large events
- Think in zones, not just tables
Designate physical areas for badge pickup, on-site registration, help desk, and speakers. This is more efficient and it helps attendees self-sort instinctively. - Use oversized, high-up signage
Hanging signs, banners, or foam boards mounted above the crowd level work best. At this scale, signs don’t just inform; they guide motion. - Put greeters ahead of the problem
Staff the entrance with people who can spot hesitation, reroute confusion, and answer questions before anyone joins the wrong line.
Gear & Equipment Considerations
When it comes to gear, there’s no one-size-fits-all list. Your setup depends on whether you’re doing everything yourself (DIY), getting some professional support, or using a fully managed onsite service.
But no matter how hands-on or hands-off you are, every choice you make should serve one purpose: minimizing friction in the physical flow of check-in.
Below, we’ll break it down by level of involvement, with quick notes on what gear to have ready, where it tends to fall apart, and how to avoid last-minute scrambles.
DIY Setup
In this scenario, you're handling badges and check-in yourself, maybe with some volunteers and borrowed gear.
What you’ll need:
- Badge materials: pre-printed or printed onsite.
- Lanyards: pre-looped if possible (see note below)
- Badge bins or organizers: label clearly and make sure they’re upright
- Laminator or laser printer (if printing yourself)
- Power strips + backup ink/toner
- Tape, signage stands, and sharpies
- A plan for last-minute registrants or swaps
Quick tip: Instead of piling badges in bins behind a laptop, try standing them up in clearly labeled containers, and pre-looping lanyards ahead of time. The less digging your staff has to do, the smoother it all feels.
Common pitfalls to watch out for
- One table trying to handle speakers, sponsors, VIPs, and walk-ins…all at once. That’s not efficiency, that’s a traffic jam.
- No backup printer, no blank badges, and no plan for “not on the list” guests.
- Signage that isn’t visible from afar (if attendees can’t spot it from across the room, it’s not helping).
- Volunteers or staff overwhelmed by too much multitasking and troubleshooting.
If you’re planning to print badges yourself, make sure your design tools let you control layout, branding, and attendee data. Guidebook’s badging features allow you to create your own designs and print them at home or on-site, no extra software required.
Professional Setup
Maybe you don’t want to lug a printer to the venue; but you do want beautiful, on-brand badges that are tailored to your event.
That’s where pro printing services shine. You design your badges, someone else prints and ships them, and they arrive ready for you to hand out.
What’s usually covered:
- Badge design tools with branding flexibility
- Pre-printed, professionally cut badges shipped to your team
- Support for multiple badge types by attendee role (e.g. VIP, speaker, sponsor)
- Built-in QR codes or barcodes for easy scanning at check-in
What you still need to think about:
- Enough staff to handle peak-time arrivals and exceptions
- Clear signage that helps attendees know where to go
- A support station or floating staffer for edge cases (missing badge, wrong name, etc.)
- How long check-in might take at your busiest moment — even without printing involved, a few slowdowns can ripple out
Using a platform like Guidebook means you can easily design and customize your badges, and get them professionally printed with our partner, Billy’s Badges, in one seamless flow.
Onsite Services (Fully Managed)
You’ve brought in an event tech partner to handle check-in and badging end-to-end.
Congrats this is the least chaotic path if your provider knows what they’re doing. The best partners will handle staffing, layout, equipment, and signage for you. But there are still some decisions that you’re responsible for.
What’s typically handled for you
- Badge gear and printing equipment
- Staffing the desk or setting up stations
- Troubleshooting check-in issues
What you’re typically responsible for
- Defining which attendee types will check in onsite (e.g., are speakers, sponsors, or press handled at a separate table or location?).
- Deciding where badge pickup happens (lobby, expo hall, offsite hotel?).
- Planning for edge cases like walk-ins, badge swaps, and lost credentials
Even with a full-service partner, attendee flow still matters. A great check-in experience takes collaboration, especially when it comes to space layout, signage, and support zones.
Handling Last-Minute and Unexpected Arrivals
Even with a dialed-in setup and the right gear, your check-in experience will face curveballs. Some attendees will arrive outside the planned window. Others will show up onsite without ever being on your in-person list. None of this is unusual; but if you’re not ready, it can create visible chaos fast.
This section covers two common, easily overlooked check-in disruptors:
- Late or off-schedule arrivals
- Unplanned in-person arrivals (including virtual registrants who show up onsite)
1. Late and Off-Schedule Arrivals
Some guests will arrive early, and others will be fashionably late. Because they’re showing up outside of the expected arrival window, these attendees can get stuck no staff, no signage, and no idea where to go.
Where this causes friction:
- They arrive when staff are off-duty or reassigned
- Signage has been taken down or moved
- Supplies (lanyards, badges) have been packed up
- They interrupt conversations or slow down other processes
Ways to handle it smoothly:
- Keep signage up even after the rush; it helps latecomers feel welcome and avoids confusion.
- Schedule 1–2 “flex” staffers who are available before the first session starts, during breaks, or after lunch.
- Keep a small stash of badges and lanyards accessible, just in case you need them
- Set up a “Help” sign or table that makes it easy for someone arriving off-schedule to get assistance.
2. Unplanned In-Person Arrivals
These guests were never expected to check in onsite, but here they are.
Maybe they registered for virtual attendance and changed their mind.
Or they assumed access was included.
Or they purchased the wrong pass.
These guests are a reflection of how people behave in the real world and your system needs to account for them.
Where this causes friction:
- Staff can’t find them in the check-in system
- There’s no protocol for validating or assigning a badge
- It holds up the line or pulls attention away from others
Ways to handle it smoothly:
- Have a few blank badges and lanyards ready for quick fixes.
- Create a protocol for “Not on the list” scenarios, including who approves access and how info gets added back into the system.
- Assign a floating staffer specifically to spot and assist these guests.
- Create a “Need assistance?” zone where these guests can get the help they need (away from the main check-in line).
Frequently Asked Questions About Event Registration and Check‑In
What’s the most effective way to set up an event check‑in area?
The most effective check-in setup depends on your event’s size and structure, but across the board, it should:
- Separate quick check-ins from those with more complex needs.
- Use clear signage attendees can spot from a distance.
- Include a support/help desk for edge cases.
- Be staffed based on peak arrival times.
How many staff members do I need for check‑in?
There’s no single perfect number, but planners often use staffing ratios to guide their estimates. For example, general industry guidance suggests staffing check‑in at roughly 1 staff member per 50 attendees, with additional support (floaters and supervisors) added based on peak arrival times and complexity (source).
Break your event into zones (registration, help desk, troubleshooting) and assign staff to each area, then adjust based on your expected arrival curve and guest flow. It’s better to have a few extra staffers available during peak times than to be overwhelmed when lines form.
Do I need onsite badge printing at my event?
Not always. Here’s a quick way to decide:
- Small events (under 200): Pre-printing or DIY is usually enough.
- Mid-size events (200–1,000): Onsite printing adds flexibility but requires the right gear and prep.
- Large events (1,000+): Onsite printing is a smart choice, especially if you expect last-minute registrations, walk-ins, or badge changes.
In Summary
No check-in setup is perfect, and that’s okay. What matters most is designing with real people in mind: how they arrive, how they move, and how they’re likely to seek help.
Whether you're planning for 100 or 100,000, the difference between a confusing first impression and a smooth, confident welcome usually comes down to a few thoughtful decisions made in advance.
If this guide helped you rethink your layout or spot a few areas to tighten up, that’s a win. Because when registration flows, the rest of the event gets to shine.
Plan with Confidence, Not stress
Get the complete event planning checklist with pre-event prep, day-of setup, and post-event follow-up all in one place..