A Smaller School?
Deliver a polished, branded event experience without a large team or a big budget.
A Smaller School?
Deliver a polished, branded event experience without a large team or a big budget.
Running Family Programs?
Give families everything they need, from schedules and maps to real-time updates, all in one place.
Running Family Programs?
Give families everything they need, from schedules and maps to real-time updates, all in one place.
Coordinating Move-In Day?
Share updates, manage events, and keep students informed from move-in through the academic year.

Coordinating Move-In Day?
Share updates, manage events, and keep students informed from move-in through the academic year.
Offering Campus Tours?
Deliver branded, self-guided tour experiences with interactive maps and rich media, available 24/7.

Offering Campus Tours?
Deliver branded, self-guided tour experiences with interactive maps and rich media, available 24/7.
Organising a Career Fair?
Simplify logistics for students, employers, and Career Services staff with one easy-to-use app.
Organising a Career Fair?
Simplify logistics for students, employers, and Career Services staff with one easy-to-use app.
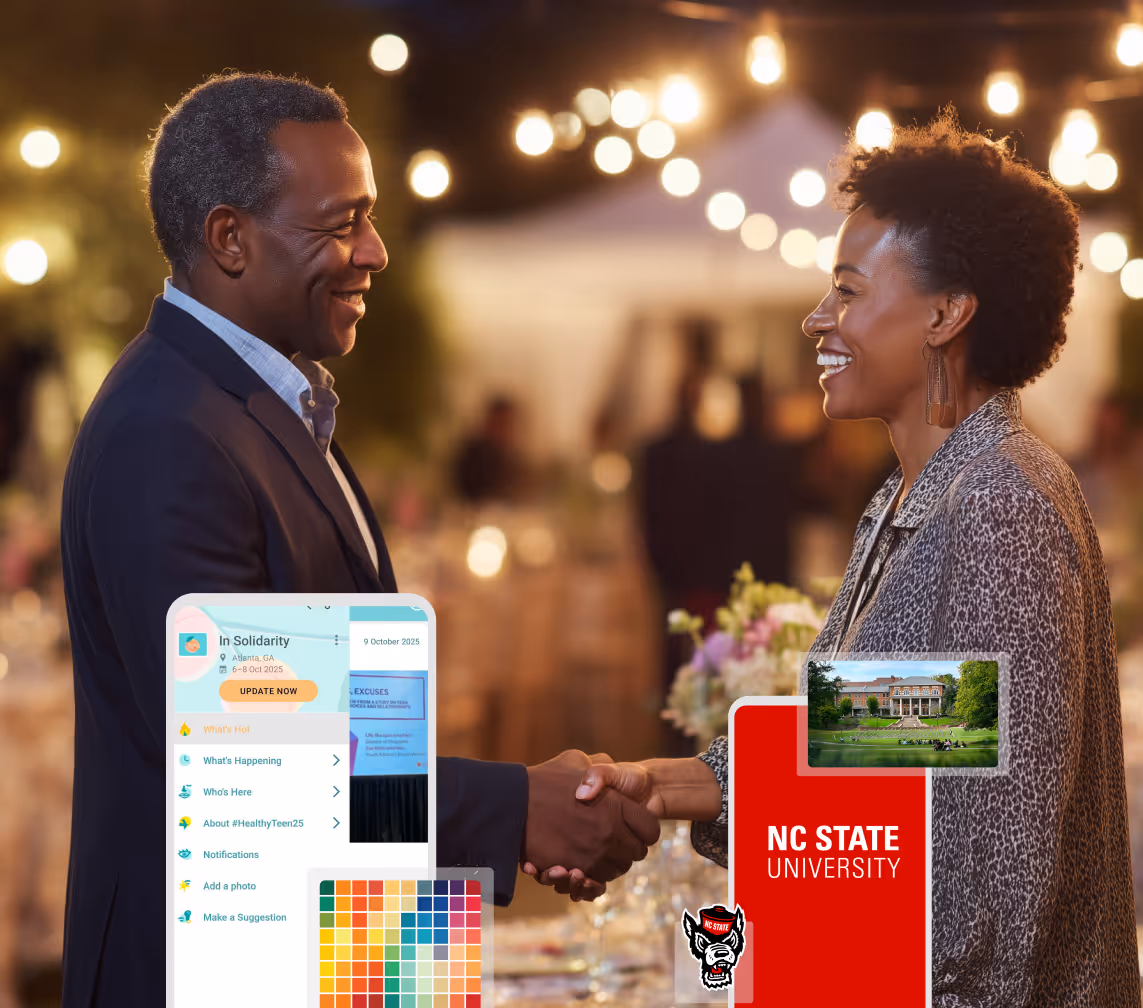
Managing Alumni Events?
Plan reunions, regional events, and fundraising campaigns with an app built for alumni engagement.
Managing Alumni Events?
Plan reunions, regional events, and fundraising campaigns with an app built for alumni engagement.
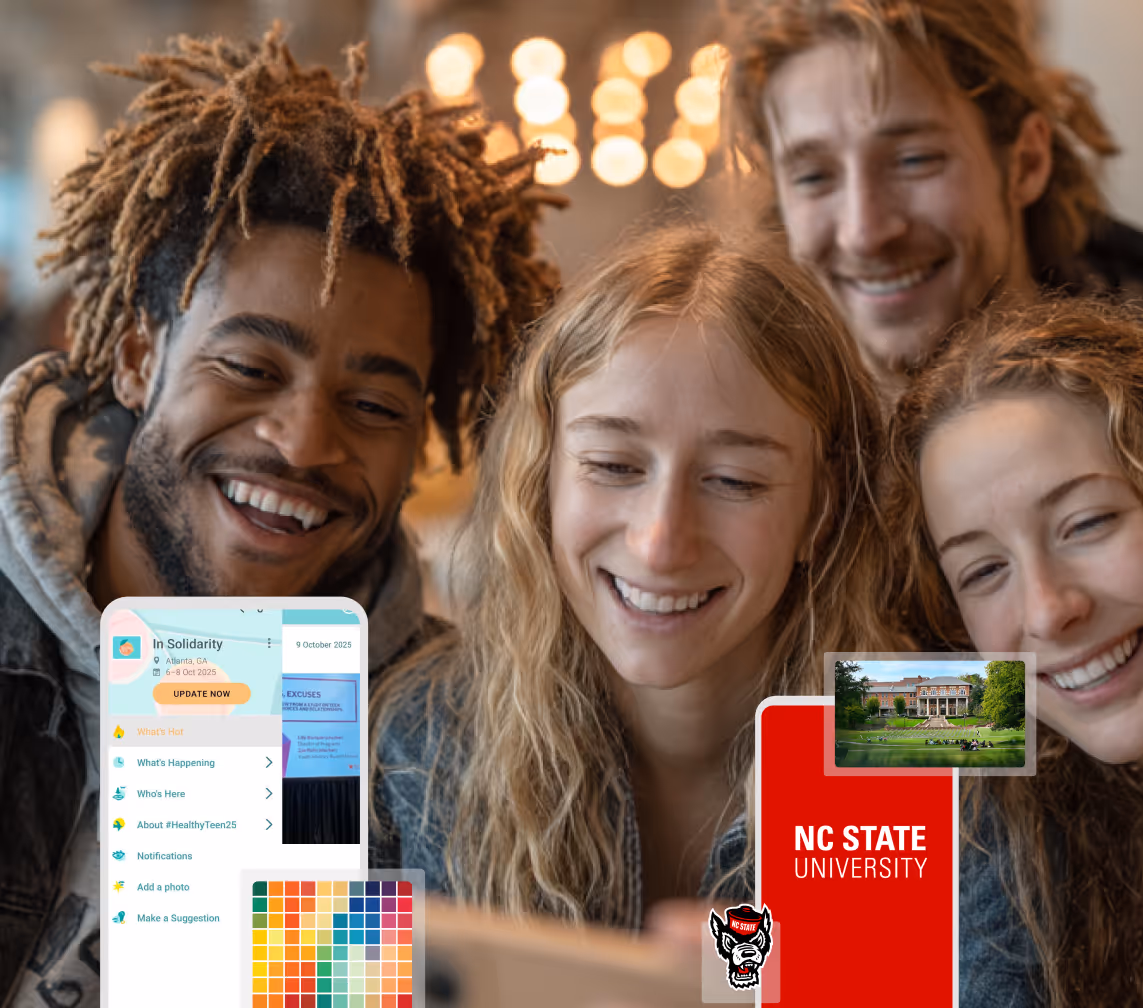
Boost Student Engagement
One hub for schedules, resources, and events that keeps students connected throughout the academic year.
Boost Student Engagement
One hub for schedules, resources, and events that keeps students connected throughout the academic year.
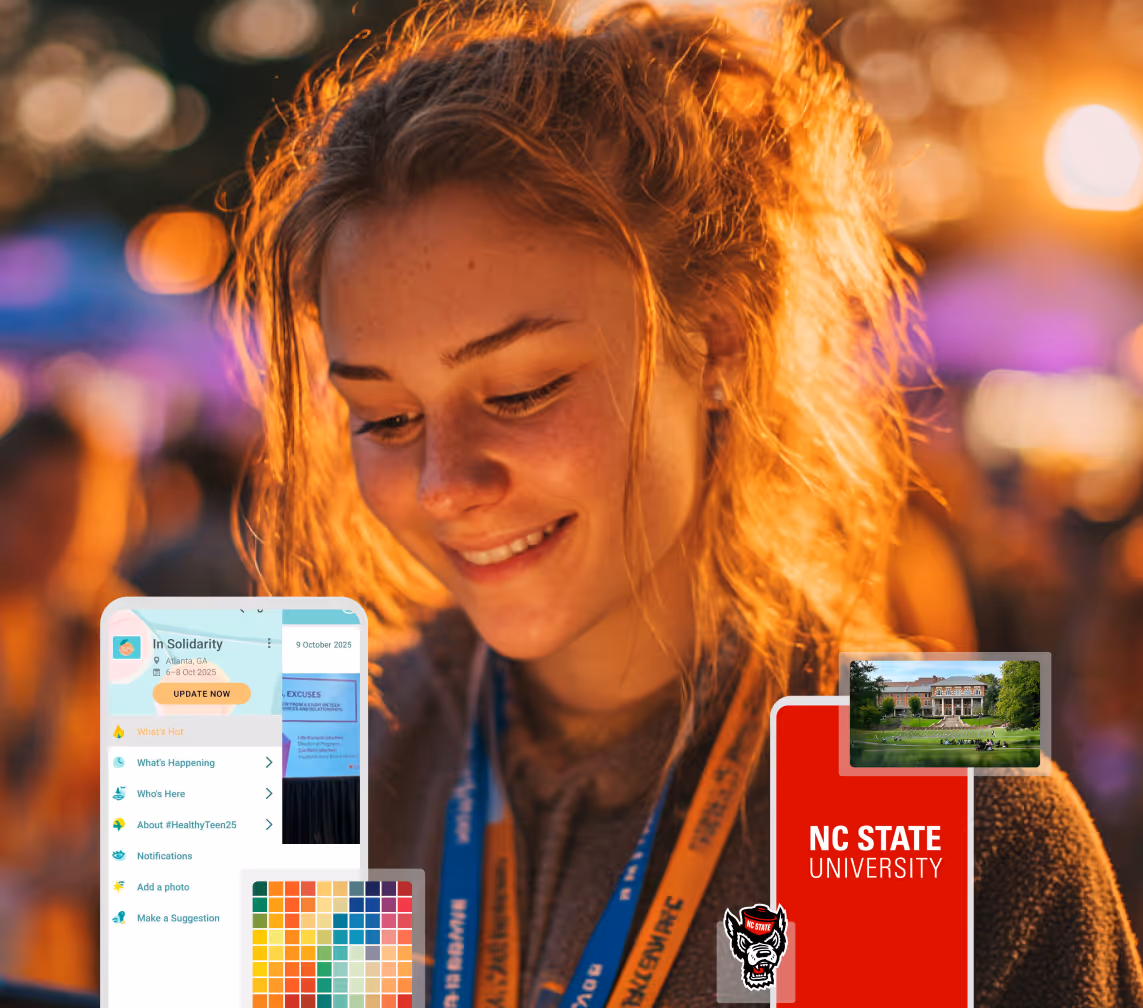
Planning Orientation?
Help new students feel prepared from day one with schedules, campus resources, and real-time updates in one app.
Planning Orientation?
Help new students feel prepared from day one with schedules, campus resources, and real-time updates in one app.
Running Admissions Events?
Manage open houses, tours, and yield events with a branded app that saves time and engages prospective students.

Running Admissions Events?
Manage open houses, tours, and yield events with a branded app that saves time and engages prospective students.
Get a custom Sponsorship Package Template
Stop starting from scratch. Grab free templates that helWe'll build a tailored sponsorship package with suggested pricing, tiers, and benefits..for your specific event.p you build professional sponsorship packages and close deals faster.
Get a custom Sponsorship Package Template
Stop starting from scratch. Grab free templates that helWe'll build a tailored sponsorship package with suggested pricing, tiers, and benefits..for your specific event.p you build professional sponsorship packages and close deals faster.
Plan Your Next Event Without Missing a Beat.
From venue selection to post-event wrap-up, this free checklist walks you through every step (so nothing falls through the cracks).
.avif)
Plan Your Next Event Without Missing a Beat.
From venue selection to post-event wrap-up, this free checklist walks you through every step (so nothing falls through the cracks).
Real Results From Real Events
100,000+ organizations trust Guidebook. See exactly how universities, associations, enterprises, and more put it to work.

Real Results From Real Events
100,000+ organizations trust Guidebook. See exactly how universities, associations, enterprises, and more put it to work.
Flexible pricing for every event size
Find the perfect plan for your needs, from intimate gatherings to large-scale conferences.

Flexible pricing for every event size
Find the perfect plan for your needs, from intimate gatherings to large-scale conferences.
Join our event experts
Watch on-demand webinars and join live sessions with industry leaders sharing best practices for event success.
.avif)
Join our event experts
Watch on-demand webinars and join live sessions with industry leaders sharing best practices for event success.
Guidebook in Action
Book a personalized walkthrough and discover how we help event teams create better attendee experiences.
Guidebook in Action
Book a personalized walkthrough and discover how we help event teams create better attendee experiences.
Event Badge Design: 7 Tips to Transform Attendee Experience and Check-In
.avif)


Event Badge Design: 7 Tips to Transform Attendee Experience and Check-In
When you’re planning an event, it’s easy to focus more on the big, visible pieces like the venue, staging, catering, or securing that must-have keynote speaker.
But often it’s the seemingly “smaller” things - like the event badge - that can shape the experience.
Your event badge is one of the first things attendees interact with on site and it affects whether check-in feels seamless or messy.
In addition, your event badge is the key to unlocking valuable data about who came, where they went, and what they engaged with.
So how do you ensure your badge is just right, and enhances the attendee experience?
Use these 7 tips.
1. Define the Purpose of Your Event Badge Design
Before you start designing, step back and ask yourself: What job(s) should this badge do?
Some potential answers are:
- Access control: Is the badge primarily about scanning in and out of sessions?
- Networking: Do you want attendee names and roles to be at the forefront, making it easy for people to start conversations?
- Branding: Should the badge double as a keepsake that reinforces your event identity?
- Essential info: Do you want your badges to carry key information like wifi details or a QR code to download your event app?
When you’re clear on the “why,” the “how” becomes a lot easier.
For example, a trade show badge might emphasize sponsor logos and scannable QR codes, while a higher ed orientation badge might focus on easy-to-read names and role markers.
Think of your badge as a mini strategy document: every design choice should tie back to its core purpose.
2. Design Event Badges for Readability and Accessibility
While a sleek and stylish badge design is great for grabbing attention, it’s important to make sure that you’re not sacrificing readability.
Remember that people use badges to connect with each other. Without human connection, attendees can end up feeling unfulfilled and dissatisfied, never to return for future events.
So, here are some badge design best practices to keep in mind:
- Make first name and company the stars: “who are you” and “which organization are you with” are two things attendees typically want to know about each other upon meeting. So, use a simple, bold, non-cursive font to clearly display that information.
- Use high contrast colors:think dark text on light backgrounds, or vice versa.
- Avoid clutter: too many logos or design elements can distract and create visual overwhelm.
- Accessibility first: be sure to test your design for colorblind friendliness and readability at a distance.
Pro tip: always print a test badge at actual size. What looks clear on your laptop screen can end up being very small or hard-to-read when it’s hanging from a lanyard.
3. Add Functional Elements To Event Badges
Today’s best badges go beyond being name tags. They become tools that streamline the entire event experience. For example:
- QR codes: these make it easy for attendees to scan themselves into sessions, and that data automatically updates your attendance tracking.
- NFC or RFID chips: they work well for large events that need lightning-fast, contactless entry.
- Role markers: simple icons or color bands can identify speakers, staff, or VIPs at a glance.
- Comfort details: lightweight stock, eco-friendly clips, or adjustable lanyards matter more than you think when people are wearing them all day.
When you add these small touches, you don’t just make badges attractive. You make them work harder for everyone.
4. Choose the Right Badge Printing Strategy
One of the biggest stress points in badge planning is printing. Do you go with:
- Pre-printed badges? Great for a professional look, but you run the risk of wasting material (and money) if there are no-shows or name changes.
- Print on-demand? It’s a flexible and cost-efficient option, but you’ll need reliable printers on-site.
- Hybrid approach? This allows you to take the middle ground, so you print some badges (say VIPs and speakers) ahead of the event and then print the remaining badges on demand at the event.
Whichever route you choose, it’s essential that you take the time to vet your printing partner.
At Guidebook we’ve partnered with two of the best in industry, so that our companies can rest easy.
For our professional (pre-printed) option, we partner with Billy’s Badges who will ship your badges directly to you. And for those customers who prefer a turnkey experience, we partner with Expo Pass for on-site managed printing.
5. Pick Reliable Badge Printing Equipment (and Have a Backup Plan)
If you’re printing badges yourself, equipment can make or break your check-in.
Printers jam.
Networks glitch.
Labels smear.
And, almost always, all three things happen just when you have a long line of frustrated attendees who are questioning their decision to attend your event.
So, to avoid disaster:
- Test printers and connections before event day.
- Keep plenty of backup supplies (paper, ink, lanyards).
- Always have at least one extra printer ready to go.
Redundancy is your best friend here. Because when hiccups happen, it’s not just your staff who feels it; it’s every attendee waiting in line.
6. Create a Smooth Event Check-In Workflow
The badge itself is only half the battle. The real magic comes from how you design your check-in process.
Some ways to streamline check-in include:
- Create separate lines for pre-registered attendees and walk-ups: When you split the flow, you keep check-ins moving fast while still giving last-minute arrivals the time and support they need.
- Provide a dedicated check-in for speakers and sponsors: These groups often have different needs (like AV run-throughs, session prep, or dropping off materials). Giving them a separate check-in experience ensures they get the support they need without slowing down general attendee check-in.
- Move badge pickup away from the main entrance: Setting up stations just before people reach the lobby or session doors prevents bottlenecks and keeps traffic flowing.
- Use clear, visible signage: No one should have to stop and ask where registration is. Floor decals, banners, or even friendly greeters pointing the way will help guide attendees with confidence.
- Staff for hospitality, not just logistics: Your registration team is the first face of your event. Encourage them to smile, answer questions, and make guests feel welcome, all while keeping the line moving.
Think of check-in as the “first impression” moment. If it feels organized, attendees immediately feel confident that they’re in good hands and it removes friction as they dive into the event experience.
7. Design Badges With Sustainability in Mind
Badges may be small, but when you’re running an event at scale they can generate a surprising amount of waste. With more attendees (and sponsors) paying close attention to sustainability, your badge program is one of the easiest, and most visible, places to show you care.
Here are a few ideas to make your badges more eco-friendly:
- Choose sustainable materials. Swap in recycled paper, compostable badge holders, or lanyards made from natural fibers.
- Offer digital badges. For guests who’d rather skip the plastic altogether, make their badge available right inside your event app. It’s lighter, greener, and instantly updated if anything changes.
- Set up lanyard reuse stations. Place collection bins near exits so attendees can drop off their lanyards on the way out. You’ll reduce waste and have a ready supply for your next event.
Taking these steps isn’t just good for the environment — it also helps reduce costs and shows attendees (and sponsors) that your event is serious about walking the talk on sustainability.
Why Event Badge Design and Check-in Matter
When you take the time to define what you want from your badges, they go from being a disposable detail to being a valuable asset at your event. The payoff shows up everywhere in the form of:
- Faster check-in times.
- Stronger and easier networking.
- Cleaner, more useful data as every badge scan gives you valuable insights to improve future events.
And with a platform like Guidebook, QR codes and check-ins feed directly into your event app, so you get real-time data on where attendees went and what they engaged with. That’s valuable intel you can act on long after the last badge has been dropped in the collection bin.
Rethink Badges With Guidebook
At Guidebook, we’ve seen how much of a difference a well-designed badge and check-in experience can make.
From QR-enabled badges to our partnerships with professional printing services, we help planners create workflows that feel effortless for staff and welcoming for attendees.
If you’re ready to rethink your badge strategy and turn it into an asset instead of an afterthought, we’d love to help. Book a demo with one of our event experts and see how smooth check-in can really be.
Plan with Confidence, Not stress
Get the complete event planning checklist with pre-event prep, day-of setup, and post-event follow-up all in one place..